
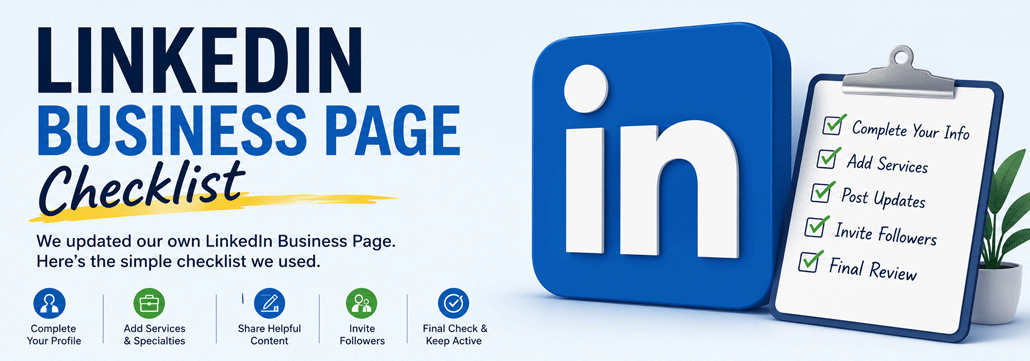
We Updated Our Own LinkedIn Business Page. Here’s the Simple Checklist We Used.
Updating a LinkedIn Business Page sounds easy until you actually log in and try to do it, right? That’s exactly what happened to us.
We knew our own LinkedIn Business Page needed attention after we updated our Social Media Profile checklist. Some information was missing. Some areas were outdated. A few sections were blank. And like many small business owners, we kept putting it off because it felt like one more confusing online task.
So we finally sat down, went through our own page, and fixed it section by section. This guide is based on that process.
Step 1: Start with the Basics
Where to go
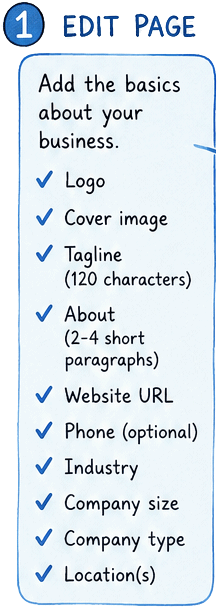
Go to your LinkedIn Business Page, switch to Admin View, then click Edit Page. LinkedIn says page admins can edit company details from the page super admin view by clicking Edit page and choosing the relevant section.
What we updated
Start with the main company information such as:
- Logo
- Cover image
- Tagline
- About section
- Website URL
- Industry
- Company size
- Company type
- Location
Why this matters
When someone lands on your LinkedIn Business Page, they should quickly understand who you are, what you do, and where to learn more. If the logo is missing, the cover image is outdated, or the about section is empty, the page can look neglected. That does not mean your business is bad, it just means the page is not helping you.
Keep it simple
Do not try to write the perfect about section right now. Just add the facts first and you can improve the wording later. The goal of this step is simply to make the page look alive and complete.
Here’s a user-submitted question
What is the best cover image size for a LinkedIn company page?
- recommended: 1128×191 pixels
- file type: JPG or PNG
- max size: 8 MB
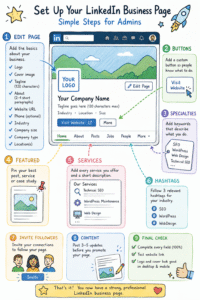
Download the LinkedIn Business Page Checklist
Follow this simple 9-step visual guide to complete and optimize your LinkedIn Company Page with confidence.
Step 2: Add a Clear Button

Where to go
Go to Admin View → Edit Page → Buttons to enable the custom button and choose the button that makes the most sense for your business. LinkedIn’s own instructions say admins can add a custom button from Edit page → Buttons, then enter the button URL and save it.
What we updated
For most small businesses, the best button is usually Visit Website. Other options may make sense depending on your business, but “Visit Website” is the safest starting point. So that’s what we did.
Why this matters
If someone is interested in your business, make the next step obvious. Do not make visitors hunt for your website. Do not assume they will scroll around. Do not make them work harder than necessary. Give them one clear button to click.
Keep it simple
Use your homepage if you are unsure. If you have a better page, such as a services page, contact page, booking page, or consultation page, use that instead. The important thing is that the button works and sends people somewhere useful.
Step 3: Add Your Specialties
Where to go
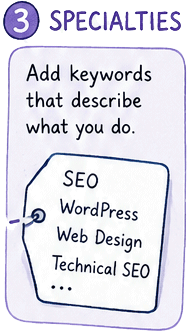
Go to Admin View → Edit Page → Details → Specialties. This section lets you add keywords that describe your business.
What we updated
Instead of adding generic words like “Business” or “Marketing”, we listed the services we actually want to be known for. Our list included things like:
- Technical SEO
- WordPress
- Website Design
- Website Maintenance
- Local SEO
- Website Hosting
- Website Audits
- ADA Accessibility
- Google Business Profile
- Performance Optimization
You don’t need to copy ours verbatim. Use terms that accurately describe your own business.
Why this matters
Think of specialties as helping both people and LinkedIn quickly understand what your company does. If someone visits your page, they should immediately recognize whether you’re the right fit. If LinkedIn can better understand your business, that’s even better.
Keep it simple
Aim for 10-20 specialties. Don’t stuff in every keyword you can think of. If you don’t offer it, don’t list it.
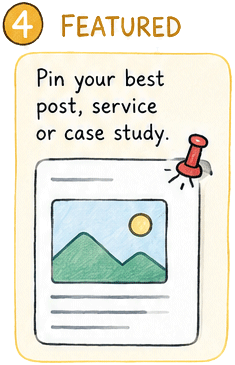
Step 4: Feature Your Most Helpful Posts
Where to go
From your LinkedIn Business Page, click Start a Post. If your page is empty, don’t worry, we’ve all been there.
What we updated
Before inviting anyone to follow our page, we wanted visitors to see that the business was active. We published a few helpful posts covering topics we already answer for clients. Ideas include:
- a quick tip
- a common mistake customers make
- a recent project
- a before-and-after example
- a frequently asked question
- a client success story
Why this matters
Imagine walking into a retail store where every shelf is empty. That’s what a business page with zero posts feels like. People want to know your business is alive. They don’t expect daily content. They just want evidence that you’re active.
Keep it simple
Don’t overthink it. Three to five quality posts are far better than thirty low-quality ones. Your first few posts don’t need to go viral, they just need to be useful.
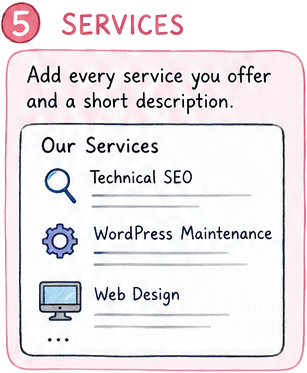
Step 5: Add Your Business Services
Where to go
Go to your LinkedIn Business Page admin area and look for the option to add services. LinkedIn says eligible Company Pages can add services from the page super admin view by selecting Create → Add services.
What we updated
We added the actual services we offer. Examples might include:
- Web design
- WordPress support
- Website maintenance
- Local SEO
- Technical SEO
- Website audits
- Hosting support
- Website security
Your list will be different, and that is totally fine. The point is to tell people what you actually do.
Why this matters
Many business owners assume visitors already understand their services. They usually do not. A potential customer may land on your LinkedIn page before they ever visit your website. If your services are missing, vague, or outdated, they may leave without realizing you can help them. Adding services gives visitors a quick overview of what your business offers.
Keep it simple
Do not write a full sales page for each service. One or two simple sentences is enough.
For example:
“WordPress website maintenance for small businesses that need help keeping their website updated, secure, and working properly.”
Clear beats clever.
Step 6: Follow Industry Hashtags
Where to go
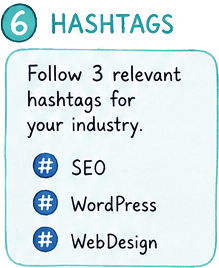
Use LinkedIn’s search bar to search for topics related to your industry. Follow the hashtags that are most relevant to your business.
What we updated
We followed hashtags related to the work we actually do. For example:
- #SEO
- #WordPress
- #SmallBusiness
- #Marketing
- #WebDesign
But your list will likely be different.
Why this matters
Following hashtags helps improve your LinkedIn feed. Instead of seeing random updates, you’ll begin seeing conversations from businesses and professionals in your industry. That gives you ideas for future posts and opportunities to engage with potential customers.
Keep it simple
Don’t follow hundreds of hashtags. Start with three to five. As your business grows, you can always add more. Remember, LinkedIn is about building relationships, not collecting hashtags.
Step 7: Invite Your First Followers
Where to go
From your LinkedIn Business Page, look for the Invite Connections option in the admin tools.
What we updated
After cleaning up our page, we finally felt comfortable inviting people to follow it. Before that, there wasn’t much to see. Now, visitors would find a complete profile, helpful posts, and a business that looked active.
Why this matters
Many business owners make the mistake of inviting everyone first and fixing their page later. We recommend doing the opposite. Think of it like inviting guests to your home. You’d probably tidy up before they arrived. Your LinkedIn Business Page deserves the same treatment.
Keep it simple
Start by inviting people who already know you, like:
- friends
- clients
- referral partners
- vendors
- local business owners
- former coworkers
You don’t need thousands of followers overnight. The first 100 genuine followers are far more valuable than 1,000 people who never engage.
Step 8: Publish a Few Helpful Posts
Where to go
From your LinkedIn Business Page, click Start a Post.
What we updated
Before inviting anyone to follow our page, we wanted visitors to see that our business was active. So we published a handful of helpful posts first. They weren’t sales pitches, they were simple posts answering common questions, sharing quick tips, and showing the work we do every day.
Why this matters
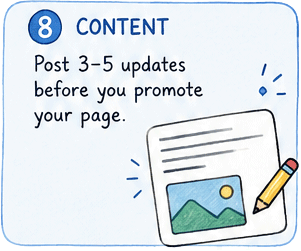
Imagine someone clicks on your LinkedIn page and the last post is from three years ago. It immediately makes the business feel inactive. You don’t need dozens of posts. Just 3-5 helpful updates is enough to show visitors your page is alive and worth following.
Keep it simple
If you’re not sure what to post, start with:
- a quick business tip
- a frequently asked question
- a recent project
- a customer success story
- a behind-the-scenes photo
Step 9: Perform One Final Check
Before you call it finished
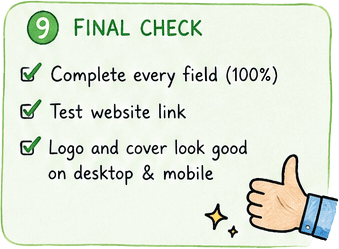
Take two minutes to review everything one last time. Here’s the same checklist we used on our own page:
✅ Complete every section you can
✅ Test your website link
✅ Make sure your logo and cover image look good on both desktop and mobile
Why this matters
Small mistakes are easy to miss while you’re making changes. A broken website link, blurry logo, or unfinished profile can leave the wrong impression. A quick final review helps make sure your LinkedIn Business Page is ready for customers, referrals, and future followers.
Keep it simple
Perfection isn’t the goal. A complete, accurate page that looks professional is far better than one that’s been “almost finished” for the last two years.
Printable LinkedIn Business Page Checklist
Print this page or keep it open while updating your business page.
Company Information
☐ Upload a logo
☐ Add a cover image
☐ Write a tagline
☐ Complete the About section
☐ Add your website
☐ Select your industry
☐ Update company size
☐ Choose company type
☐ Add your location
Business Information
☐ Add a custom button
☐ List your services
☐ Add your specialties
☐ Publish 3–5 helpful posts
☐ Follow a few industry hashtags
☐ Invite your first followers
Final Review
☐ Test every button
☐ Check your website link
☐ Review desktop and mobile
☐ Fix any typos
☐ Celebrate, you finally did it!!
Final Thoughts
If you’re anything like us, this probably stayed on your to-do list much longer than it should have. Not because it was difficult, but because life gets busy, clients come first, and updating your own business often gets pushed aside. That’s exactly why we created this guide.
We simply documented the updates we made to our own LinkedIn Business Page and turned them into a checklist anyone can follow. If this article helped you finally check one more thing off your business to-do list, then it accomplished exactly what we hoped.
Next up, we’re planning similar beginner-friendly guides for:
- Google Business Profile
- Facebook Business Page
- WordPress websites
- Google Search Console
- Local SEO
- AI business profiles
Because if we had to figure it out ourselves, there’s a good chance other small business owners are looking for the same answers.
